How To Install Moodle On Ubuntu 18.04
Step 1: Install Apache HTTP web server
Before installing Apache web server, first, login as root and update and upgrade the system repositories
# sudo apt update -y && sudo apt upgrade -y
Next, install Apache by running the command:
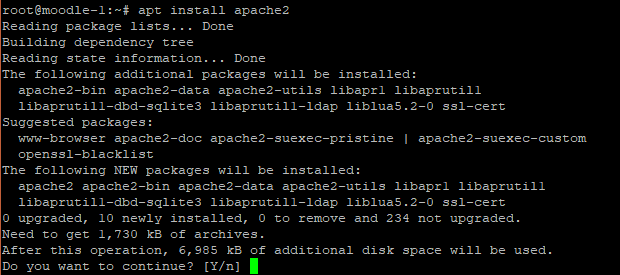
# apt install apache2
Sample Output
Next, start Apache2 HTTP server by running
# systemctl start apache2
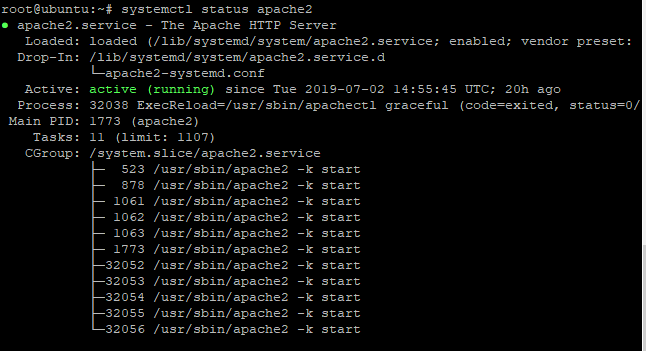
To verify the status of the server, run
# systemctl status apache2
Step 2: Install MySQL and PHP
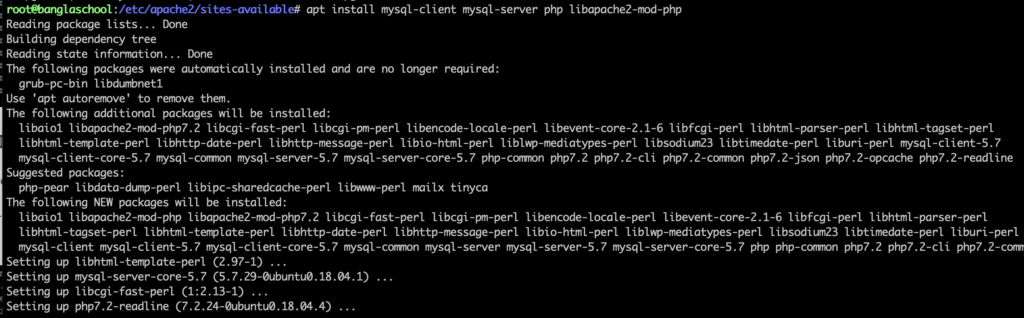
Since Moodle is PHP driven and stores course content and other data, we need to install PHP and MySQL database for storing the data. To do so, run the command:
# apt install mysql-client mysql-server php libapache2-mod-php
Sample Output
Great ! Now we need to start and ensure that our database is up and running.
To start and enable the MySQL database on boot run:
# systemctl start mysql # systemct enable mysql
Next, we need to secure our database. To achieve this run:
# mysql_secure_installation
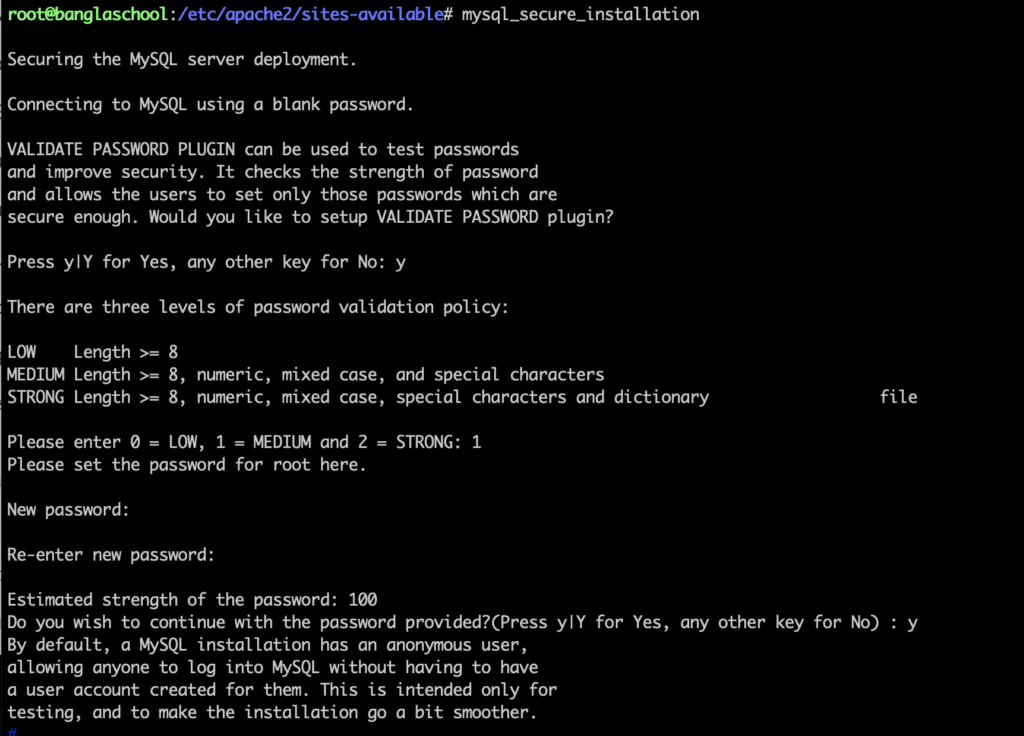
You will be prompted to answer a series of questions
-
Enter current password for root (enter for none): Just press the Enter
-
Set root password? [Y/n]: Y
-
New password: Enter password
-
Re-enter new password: Repeat password
-
Remove anonymous users? [Y/n]: Y
-
Disallow root login remotely? [Y/n]: Y
-
Remove test database and access to it? [Y/n]: Y
-
Reload privilege tables now? [Y/n]: Y
Awesome! We have successfully installed and secured our database instance. We now need to make a few modifications to the default mysql configuration file. Using your preferred text editor, open the file below
# vi /etc/mysql/mariadb.conf.d/mysqld.cnf
In the Mysqld section, append the lines below
default_storage_engine = innodb innodb_file_per_table = 1 innodb_file_format = Barracuda innodb_large_prefix = 1
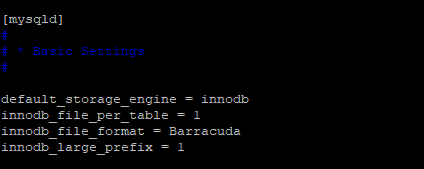
Save the changes and exit your text editor.
Finally, restart the MySQL database to effect the changes
# systemctl restart mysql
Step 3: Install additional software
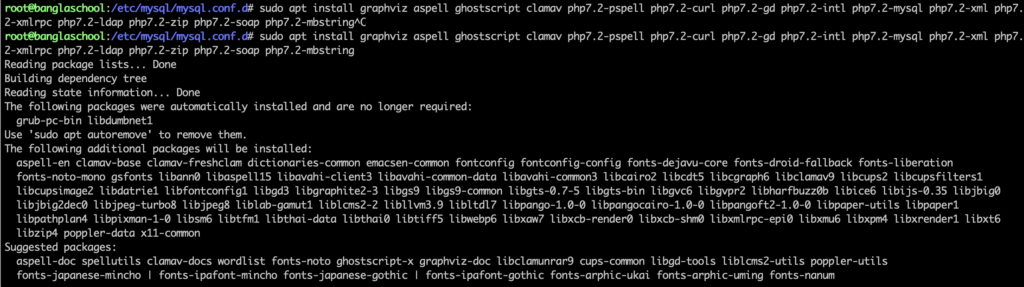
For Moodle to function as expected, we need to install extra software packages using the command below
# sudo apt install graphviz aspell ghostscript clamav php7.2-pspell php7.2-curl php7.2-gd php7.2-intl php7.2-mysql php7.2-xml php7.2-xmlrpc php7.2-ldap php7.2-zip php7.2-soap php7.2-mbstring
Sample output
Step 4: Create a database for Moodle
Having installed the requisite packages for Moodle, we now need to create Moodle database and Moodle MySQL user. Bur first, let’s log in to our database
$ sudo mysql -u root -p
Provide the required MySQL password and hit ‘Enter’
Next, create a blank Moodle database
CREATE DATABASE moodledb;
Next, create a database user with a password
CREATE USER 'moodle@localhost' IDENTIFIED BY 'new_password_here';
Next, grant full user access to the database
GRANT ALL ON moodledb.* TO 'moodle@localhost' IDENTIFIED BY 'user_password_here' WITH GRANT OPTION;
Save your changes and exit using the commands below
FLUSH PRIVILEGES;
EXIT;
Step 5: Download the latest Moodle release
Download the latest Moodle release using the command
wget https://download.moodle.org/download.php/direct/stable33/moodle-latest-38.tgz
Extract the tarball file
tar -zxvf moodle-latest-33.tgz
Next. move the ‘moodle’ file to the web root directory as shown
sudo mv moodle /var/www/html/moodle
Then, create a new directory in /var/www/html directory
sudo mkdir /var/www/html/moodledata
finally, adjust file permissions as shown
sudo chown -R www-data:www-data /var/www/html/moodle/
sudo chmod -R 755 /var/www/html/moodle/
sudo chown www-data /var/www/html/moodledata
Step 5: Configure Apache2 HTTP server
We need to create a virtual host for Moodle that will be served on the browser instead of Apache’s default Page.
We will create a virtual host called moodle.conf. To achieve this, we will run
sudo vim /etc/apache2/sites-available/moodle.conf
Paste the content shown below. Kindly remember to replace the highlighted sections with your server domain name
<VirtualHost *:80> ServerAdmin admin@example.com DocumentRoot /var/www/html/moodle/ ServerName example.com ServerAlias www.example.com <Directory /var/www/html/moodle/> Options +FollowSymlinks AllowOverride All Require all granted </Directory> ErrorLog ${APACHE_LOG_DIR}/error.log CustomLog ${APACHE_LOG_DIR}/access.log combined </VirtualHost>
Save and exit.
Next, enable the Apache virtual host files by running
# sudo a2enmod rewrite # sudo a2ensite moodle.conf
To make the changes come into effect, reload the Apache web server
# systemctl restart apache2
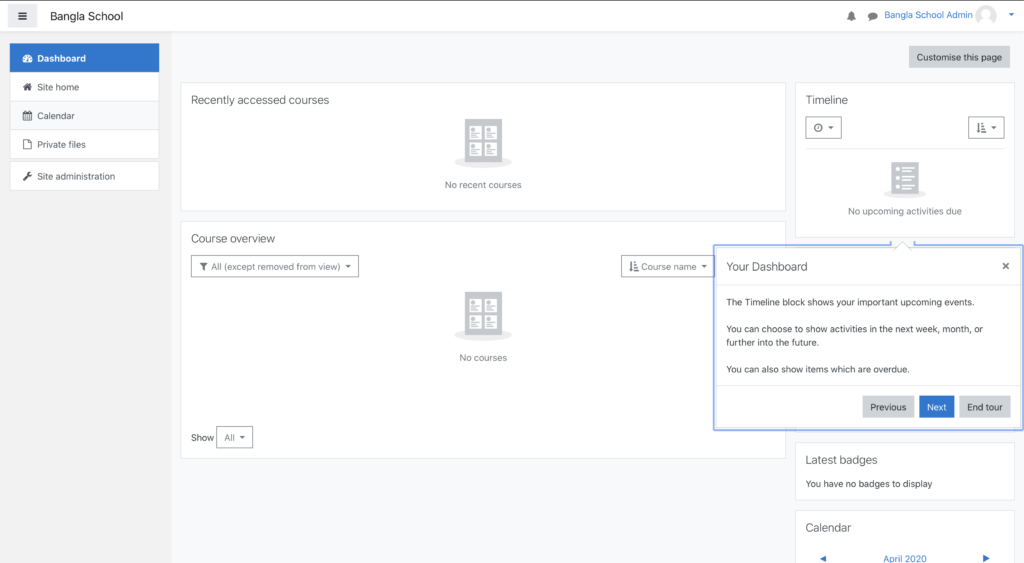
Step 6: Setting up Moodle via a web browser
After restarting Apache web server, launch your browser and browse your server’s IP address as shown
http://server-IP/install.php
This will open the following web page that gives you an option to select your Language. Select your preferred language and click ‘Next’.
This takes you to the page below where you will verify the path to moodle directory and data storage. Click ‘Next’
In the next section, select the database type as Improved MySQL (Native/mysqli) and cick ‘Next’
In the next section, fill out the details on the Database Host, Database name, Database user and Password. Click ‘Next’
The installation will perform a few server checks.
If all the requirements are met click ‘Continue’
Complete all the info and save.
Source: https://cloudcone.com/docs/article/how-to-install-moodle-on-ubuntu-18-04/