31
Jan
INSTALLING PI-HOLE ON UBUNTU 18.04 LTS
in Linux
Comments
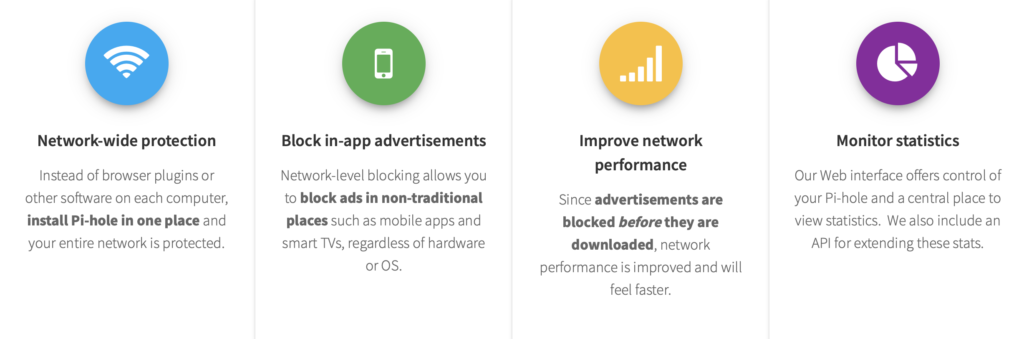
Pi-hole® Network-wide Ad Blocking

Update Ubuntu
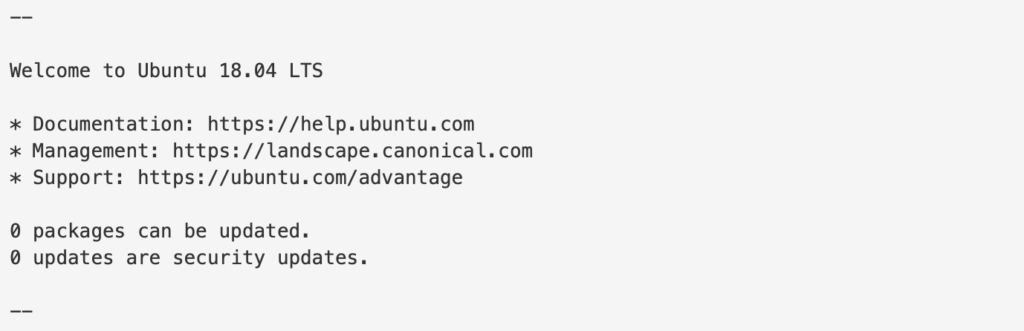
After your Ubuntu system finishes the install and reboots, log in via an SSH terminal or from the console. You should be greeted with a welcome screen similar to the one below with the exception your package and security update counts may be different.
$ sudo apt-get update && sudo apt-get upgrade -y && sudo reboot
$ sudo cp /etc/apt/sources.list /etc/apt/sources.list.orig
$ sudo sed -i 's/bionic main/bionic main universe/g' /etc/apt/sources.list
$ sudo apt-get update
$ sudo apt-get --no-install-recommends install dialog dhcpcd5
$ sudo dpkg --configure -a
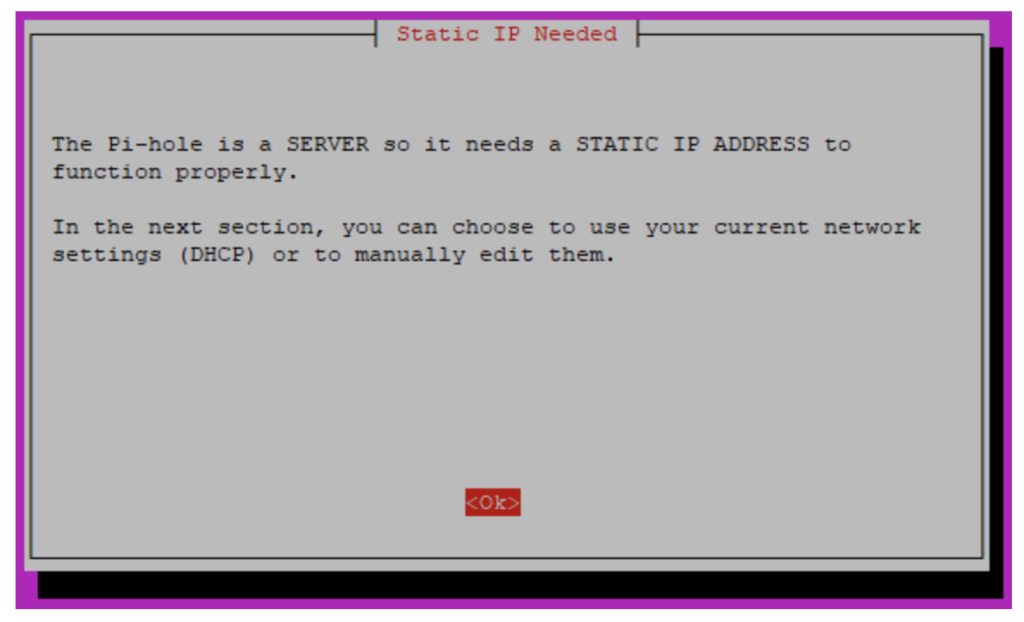
Install pi-hole
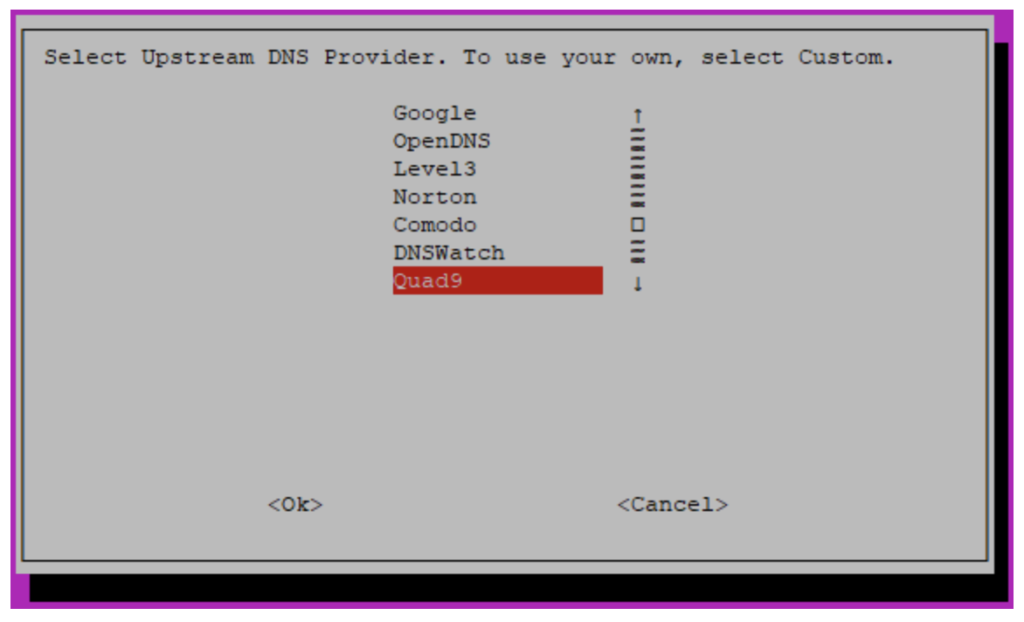
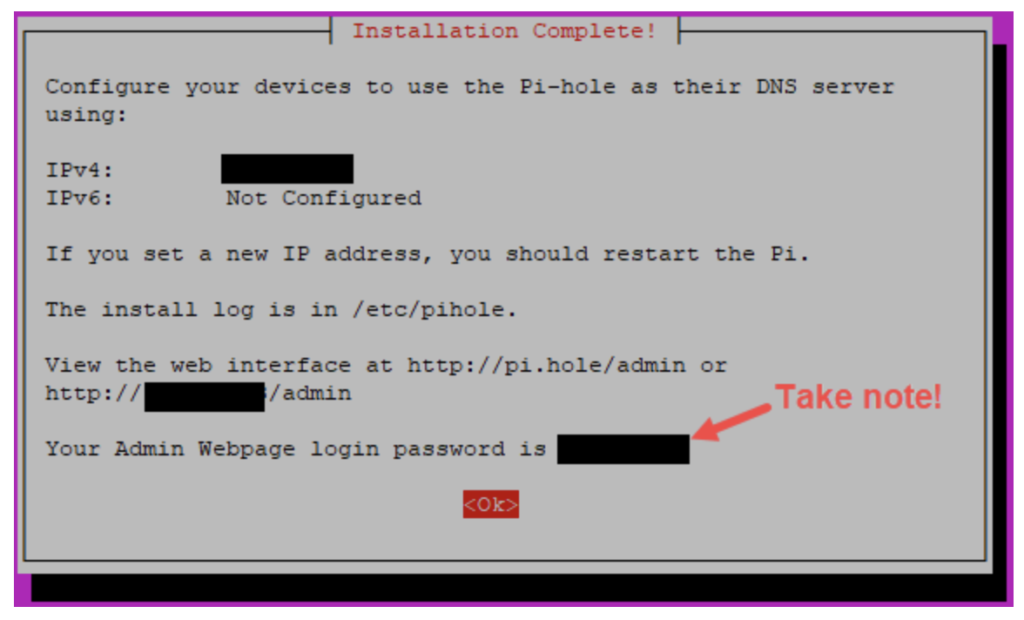
$ curl -sSL https://install.pi-hole.net | bash
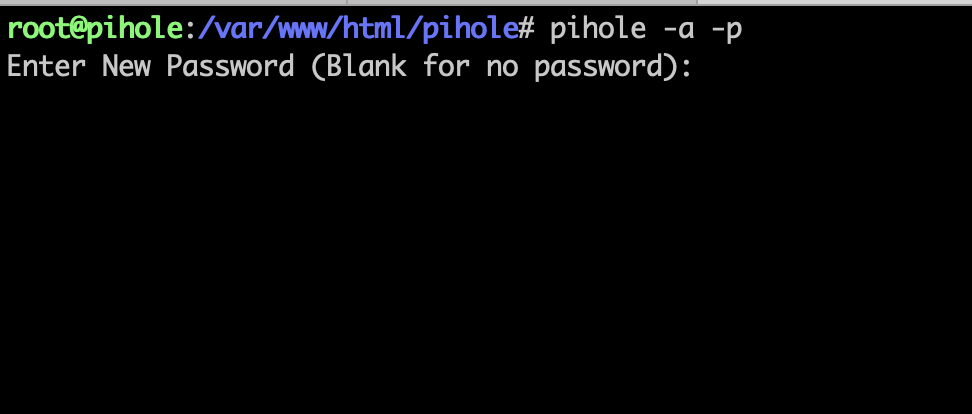
Change your pi-hole web password
Via the an SSH terminal or the console, type in “pihole -a -p” and hit enter. Type in your new password twice.
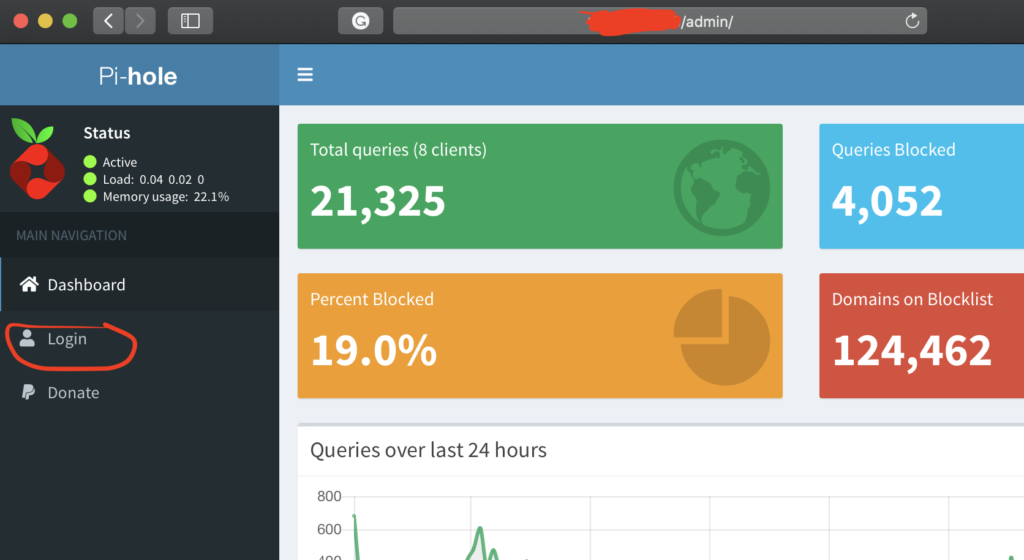
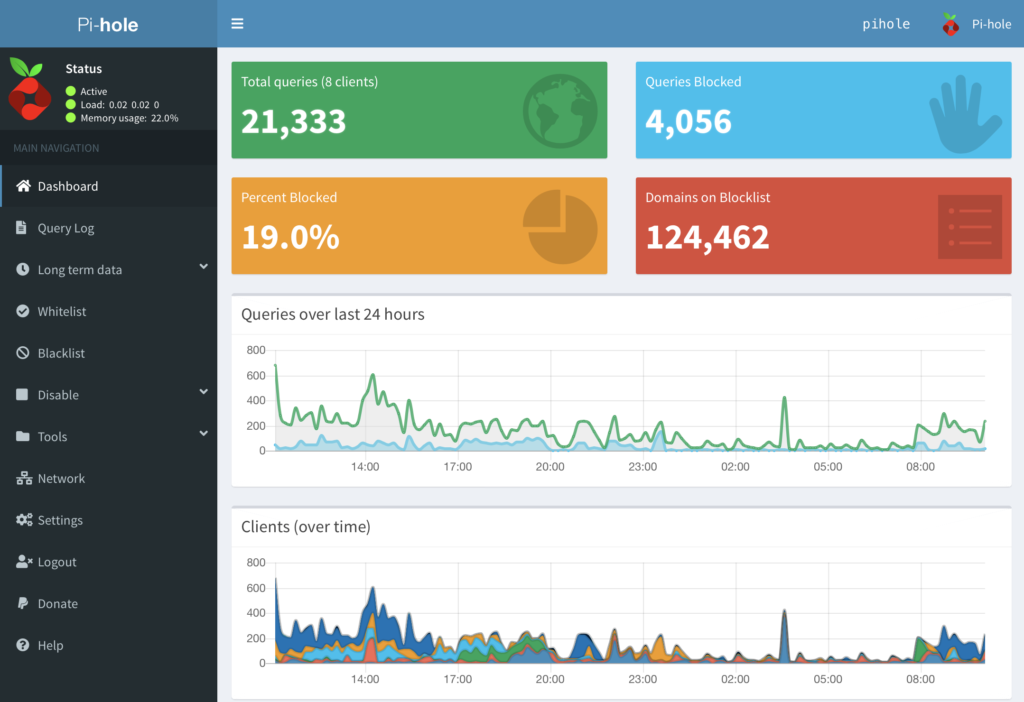
pi-hole web interface
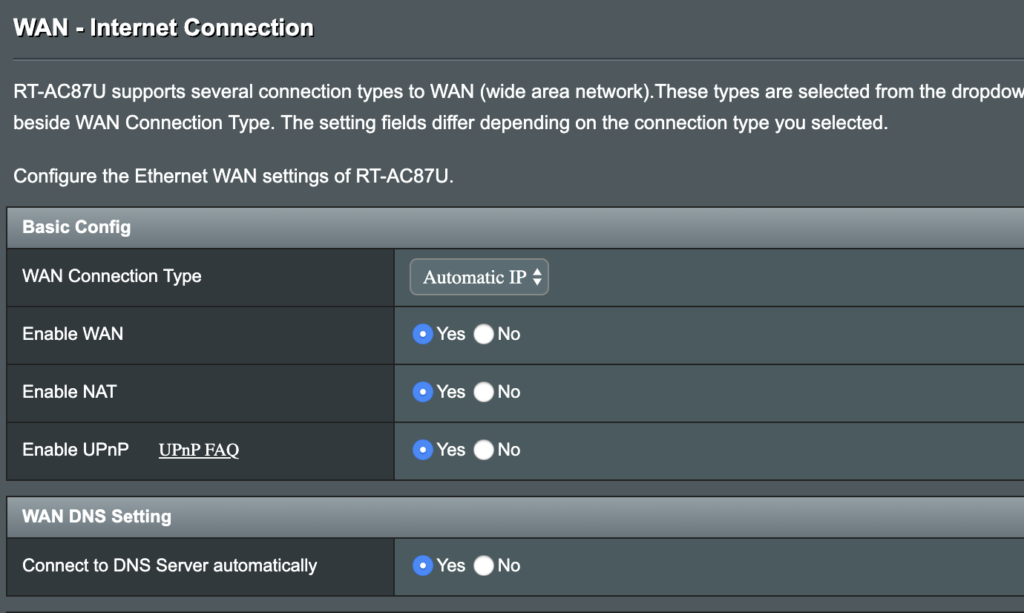
Set Pi-Hole as the DNS provider
- Go to http:///Advanced_WAN_Content.asp
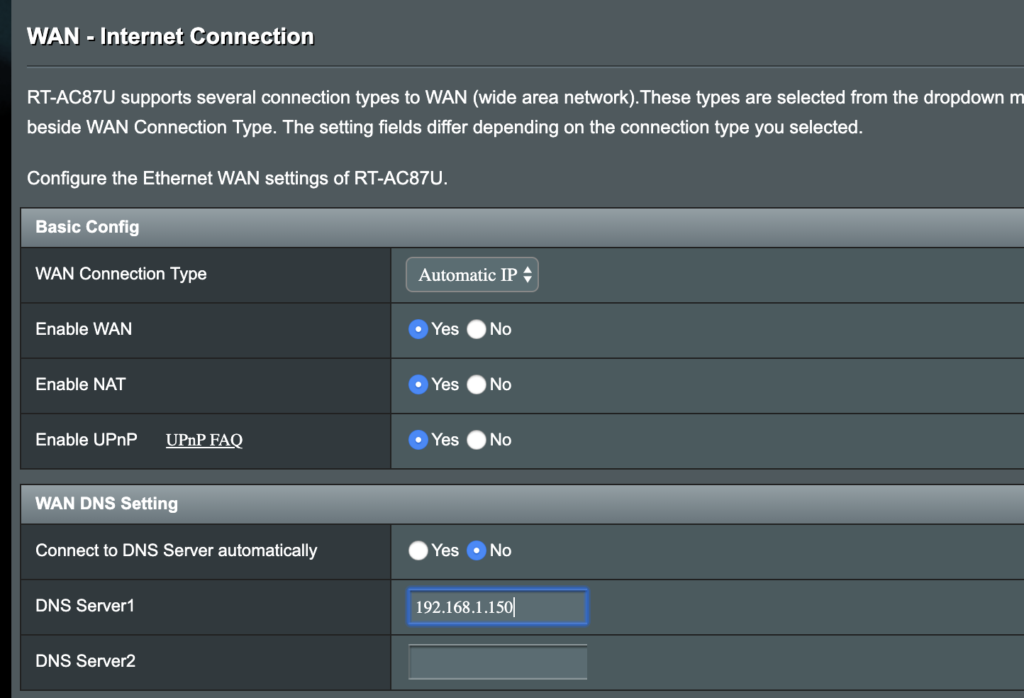
- Under WAN DNS Setting, set Connect to DNS Server automatically to NO.
- Set DNS Server1 to Pi-hole Ip address
- Scroll to the bottom and click Apply
If you wish you do not want Pi-hole as your Router DNS server, you can add Pi-hole DNS to your iPhone/Android/Tablet or PC devices.
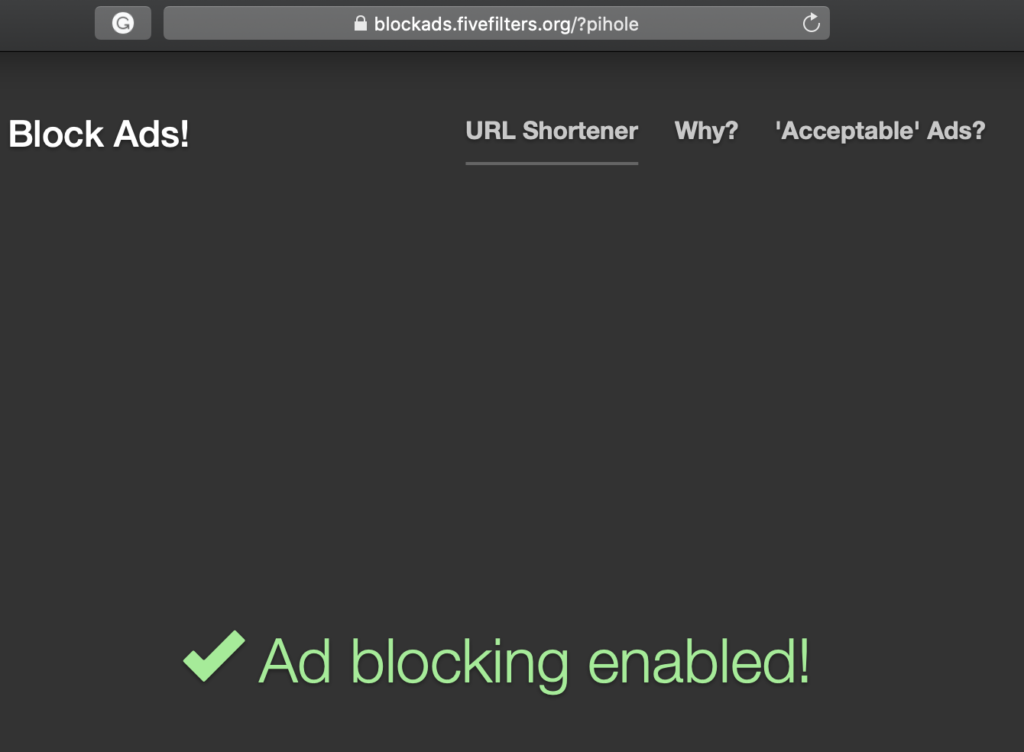
Test the Ad-blocking
A quick test page to verify if your ad blocking is working: https://blockads.fivefilters.org/?pihole